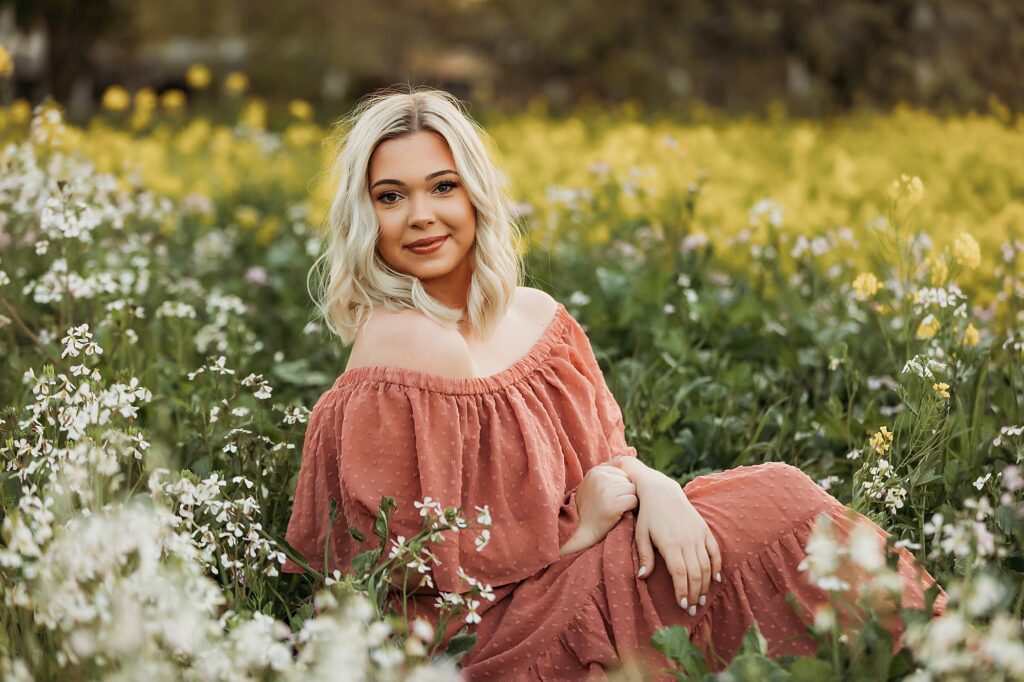
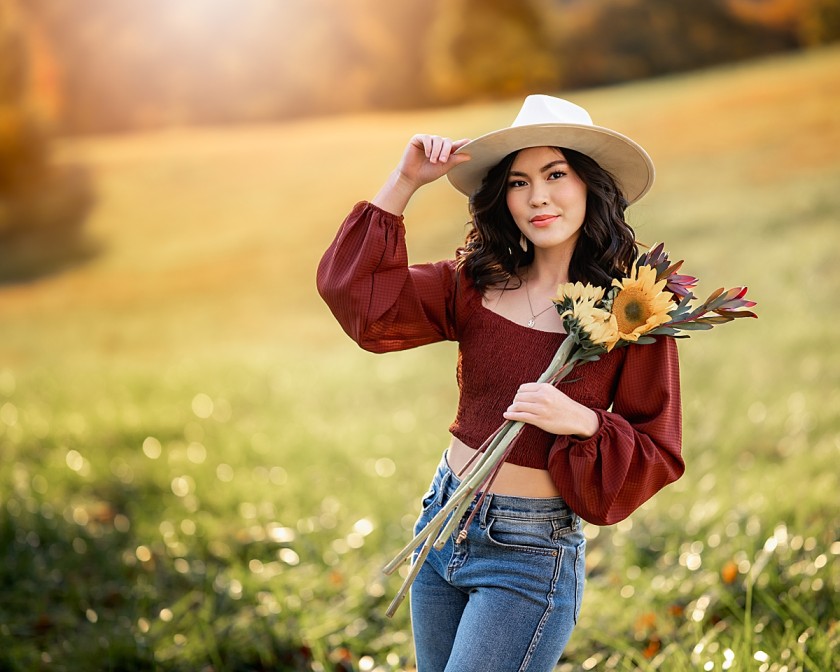
Senior Portrait Photography: Tips, Techniques and Workflow for Photographers
Senior portrait photography captures the pivotal moment between high school and adulthood. These sessions balance artistic vision with the challenge of working with teens who may feel awkward, distracted, or camera‑shy.
The best senior portraits tell a story through varied outfits, locations, and moods, reflecting both who the senior is and who they’re becoming. Success requires technical skill, rapport‑building, and the ability to manage a fast‑moving session.
This guide covers how to plan, shoot, and deliver portraits that graduates and parents will treasure, plus how AI tools can keep your workflow efficient during senior season.
TL;DR: What Makes Great Senior Portrait Photography
- The market has moved from formal studio portraits to lifestyle environmental sessions that tell a story
- Volume and variety are essential: seniors expect multiple looks, locations, and moods in one session
- Timing is everything: most bookings happen between June and October, creating an intense seasonal rush
- Client comfort trumps perfect technical execution. An awkward teen with perfect lighting beats a relaxed teen with mediocre light
- Post-processing requires managing 300-500 images per session while maintaining consistency across outfit changes and locations
- Business model opportunity: High-volume season allows photographers to earn 40-60% of their annual income in 4 months
Senior Portrait Photography: Gear, Setup & Lighting Tips
Here's what every senior portrait session demands:
Essential Camera Gear:
- 85mm-135mm lens range for flattering compression and background separation
- 50mm lens for environmental shots that include more context
- Reflector or fill flash for outdoor shadow management. Seniors hate harsh shadows under their eyes
- Extra batteries and memory cards: outfit changes mean longer sessions
Lighting Approach:
- Golden hour is king, but don't limit yourself to it. Learn to use open shade effectively
- Avoid harsh midday sun unless you're going for dramatic shadows (rare for seniors)
- Master backlighting techniques for that dreamy, glowing look seniors love
- Use natural reflectors: light-colored buildings, sand, or concrete can bounce beautiful light
Location Planning:
- Scout multiple spots within a small area to minimize travel time during the session
- Urban environments offer variety: brick walls, graffiti, coffee shops, downtown areas
- Natural settings work well: parks, beaches, fields, or wooded areas with good light
- Meaningful locations like their high school, sports field, or favorite hangout spot add personal significance
Wardrobe Management:
- Bring a portable changing station or know where restrooms are located
- Pack a steamer for wrinkle emergencies—parents will notice and appreciate this
- Suggest 3-4 outfit changes, but be prepared to shoot more if time allows
How to Shoot Senior Portraits
Before the Shoot – Prep & Planning
Client Communication Beyond the Contract
Senior portrait sessions require more pre-planning than any other portrait genre. Start with a consultation call or meeting 2-3 weeks before the session. This is your chance to build rapport with your actual client (the senior) and understand their vision.
Create a senior portrait style guide that covers outfit suggestions, what to expect during the session, and mood board examples. Send this 1-2 weeks before the shoot, but follow up with a phone call to discuss their ideas. Remember: they've been Pinterest-ing senior portrait ideas for months.
Location Scouting with Purpose
Don't just find pretty spots, find locations that offer variety within a small area. You'll need at least 3-4 different backgrounds to create visual interest across outfit changes. Scout for:
- Open shade areas for soft, even lighting
- Interesting textures (brick walls, wooden fences, urban elements)
- Natural leading lines (pathways, architecture, bridges)
- Background variety (clean/busy, urban/natural, tight/wide)

Weather Backup Planning
Senior season coincides with unpredictable weather. Always have indoor options ready: covered pavilions, parking garages with good light, shopping areas with interesting architecture, or indoor locations like libraries or coffee shops (with permission).
During the Shoot – Creating Connection and Variety
Start with Their Comfort Zone
Begin every session with their most confident outfit and pose. Ask about their favorite music and play it during the shoot, this single tip transforms awkward teenagers into relaxed clients. Most seniors are more comfortable with continuous shooting rather than posed shots, so use burst mode liberally.
Camera Settings for Success
For outdoor senior portraits, start with these settings and adjust based on conditions:
- Aperture: f/2.8-f/4 for individual shots (shallow depth of field without losing facial features)
- Aperture: f/5.6-f/8 for group shots or environmental portraits
- Shutter speed: 1/160s minimum to freeze movement (seniors move more than you expect)
- ISO: Auto with max limit of 1600-3200 depending on your camera's performance
Directing Without Micromanaging
Seniors respond better to general directions than specific posing instructions. Instead of "put your hand on your hip," try "shift your weight to your back foot and relax your arms." Give them prompts rather than poses: "Walk toward me and stop when I say," or "Look over there and laugh at something funny."
Master the Art of Outfit Transitions
Plan outfit changes strategically. Shoot 2-3 different backgrounds in each outfit before changing. This maximizes variety while minimizing downtime. Keep sessions moving, teenagers get bored quickly, and bored seniors make awkward photos.
Capture Genuine Expressions
The money shots in senior photography are the genuine laughs and natural expressions. Ask them about their friends, their college plans, or their favorite class. Keep them talking and shooting while they respond, these candid moments between posed shots often become the favorites.
After the Shoot – Selection, Editing, and Delivery
Managing High-Volume Culling
Senior sessions typically generate 300-500 images across multiple outfits and locations. You'll have dozens of nearly identical shots from burst sequences, slight pose variations, and outfit changes. This is exactly where Aftershoot's AI culling becomes invaluable.
Instead of spending 3-4 hours manually comparing similar shots, Aftershoot groups your burst sequences and selects the sharpest images with the best expressions. For senior photography, where you might have 20 nearly identical shots of the same pose, the AI identifies the keeper while you focus on the creative editing decisions.
Editing Workflow for Consistency
Senior galleries need to feel cohesive despite multiple outfit changes and locations. This requires consistent color grading and exposure adjustments across varied shooting conditions. Aftershoot's AI editing learns your editing style and applies it consistently across the entire session, ensuring that the urban shots and natural environment photos work together in the final gallery.
Delivery Timeline Management
Seniors and their parents expect fast turnaround—typically 1-2 weeks maximum. Build your workflow around this expectation. Use Aftershoot's One-Click Cull & Edit to process the bulk of your session quickly, then focus your manual editing time on the 15-20 hero shots that will anchor the gallery.
Post-Processing Workflow for Senior Portrait Photography
Senior portraits are all about balance — natural light, real expressions, and an edit that feels timeless without looking over-processed. The goal in post-production is to refine, not reinvent, what you captured. A great senior portrait edit keeps skin tones true, enhances emotion, and creates a cohesive style across the full gallery.
Step 1: Cull smart
Senior sessions often produce hundreds of frames per outfit or setup, especially when experimenting with movement and poses. Start by importing your RAWs into Aftershoot for AI culling. Its model identifies the sharpest, most expressive shots, saving hours of manual sorting. You can review AI selections to keep variety across poses, expressions, and backdrops while eliminating duplicates and test shots.
Pro tip: Create a consistent “best-of” ratio (about 1 in 8 shots) to maintain client expectations for final delivery.
Step 2: Apply a clean base edit
Once your keepers are finalized, open Aftershoot Edit to apply your preferred base style. Senior portraits benefit from balanced contrast, natural skin tones, and slightly warm highlights. This stage is where AI can take on 80–90% of the work, syncing your custom Lightroom profile or editing style automatically across the gallery.
If you already have a defined brand look (like matte neutrals or soft pastels), train your AI profile or instant AI profile to apply that tone from the start. You’ll instantly have a consistent visual foundation before moving into creative refinements. From here, switch to Lightroom or Capture One for fine-tuning.
Step 3: Refine for expression and detail
Senior portraits usually need subtle touch-ups — fixing flyaways, adjusting exposure per frame, and enhancing eye clarity without going overboard.
You can use Aftershoot Retouching here to handle the repetitive cleanup: smoothing skin, removing blemishes, and softening glare while preserving texture. This gets you 90% done before any detailed brushwork.
Workflow tip: Batch retouch first, then finalize 3–5 hero images manually for your portfolio or client prints.
Step 4: Color Grading & Texture Handling
Senior portrait editing should enhance natural beauty without looking over-processed. Focus on:
- Skin tone consistency across different lighting conditions
- Eye brightness and clarity without overdoing the whitening
- Gentle skin smoothing that maintains natural texture—avoid the plastic doll effect
- Vibrant but realistic colors that look good both printed and on social media
Step 5: Create cohesion across the gallery
Before export, review the full set side by side. Check for consistent white balance, exposure, and tone curve across all looks. Teen clients often notice inconsistencies faster than parents do, they’re used to visual perfection from social platforms.
A quick global sync or preset adjustment at this stage ensures your collection feels cohesive and intentional, not pieced together.
Step 6: Export and deliver with confidence
Export high-res files for print and optimized web versions for social media. If you deliver via online galleries, ensure each image has a similar tonal range so your brand's look stays consistent wherever it’s viewed.
Optional Touch: Add a few black-and-white edits for variety. They often resonate with parents ordering prints and graduation announcements.
Popular Editing Aesthetics in Senior Photography
Senior portrait editing trends lean heavily toward bright, airy, and film-inspired looks that complement social media sharing. The most popular styles include:
- Bright and Airy: Lifted shadows, reduced contrast, and slightly overexposed highlights create that Instagram-ready glow
- Warm Film Emulation: Golden hour warmth with slightly desaturated colors and film grain for a nostalgic feel
- Clean and Natural: Minimal processing that enhances natural colors and maintains realistic skin tones
The Aftershoot Creator Styles marketplace offers several senior-specific editing styles created by photographers who specialize in this market, providing tested starting points for your editing workflow.
How Much Does Senior Portrait Photography Make?
Senior portraits are a seasonal but high‑earning niche.
- Rates: $300–600 for entry‑level, $800–1,500 for established pros, and $1,500–3,000+ for luxury packages.
- Season earnings: 50–80 sessions from June–October can generate $40K–120K, often 60–70% of annual income.
- Upsells: Prints ($200–800), albums ($400–1,200), announcements ($150–400), wall art ($300–1,500). Average client value: $1,200–2,500.
- Growth: Demand is steady year‑over‑year. Efficiency during peak season with tools like Aftershoot directly impacts how many clients you can book and your total revenue.
Final Thoughts on Senior Portrait Photography Workflow
Senior season is a sprint, and success depends on fast, consistent delivery. Shooting 15–20 sessions a month leaves no time for 4‑6 hours of manual culling and editing per client.
Aftershoot’s AI workflow lets you process a 400‑image session in under an hour, freeing you to focus on clients and creative direction not endless post‑processing. Work smarter, deliver faster, and keep your busiest season profitable. Try Aftershoot free for 30 days and see how AI can transform your senior portrait workflow.

